Selim M0XTA went to Happisburgh Lighthouse for the Lighthouse On The Air weekend 2015. He set up a 70MHz station on top of the lighthouse, using a ⅝ λ vertical. I had a listen from home and could just make out a signal in the local noise I get on 4m at home, so I decided to go out portable and give it a try.

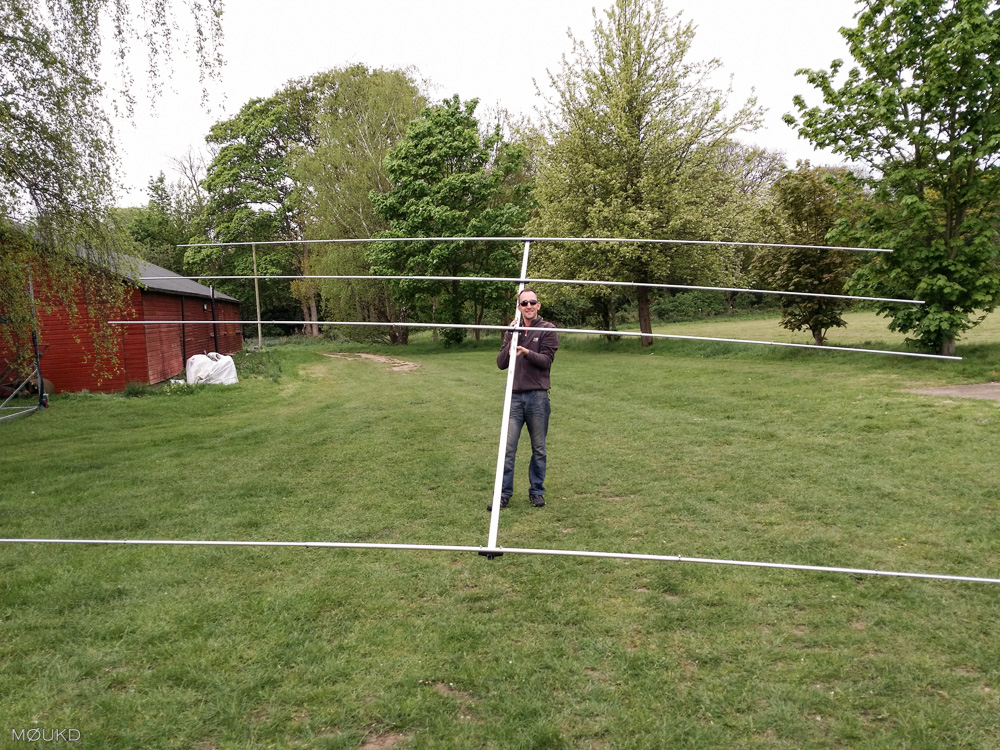
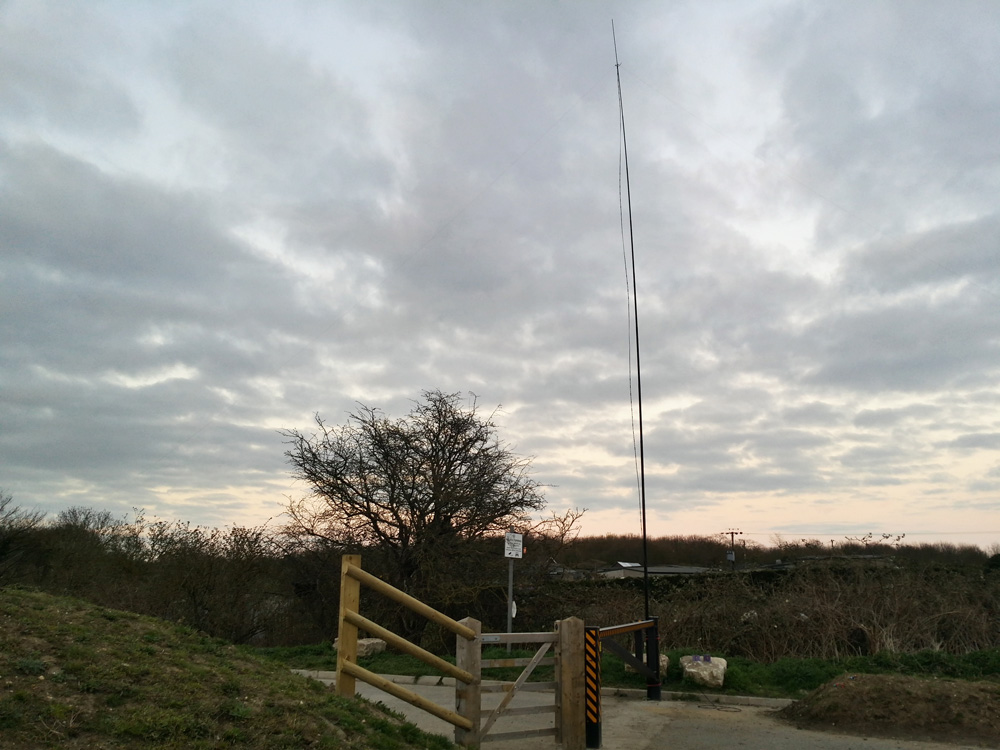
The 70MHz slim jim on 10m pole
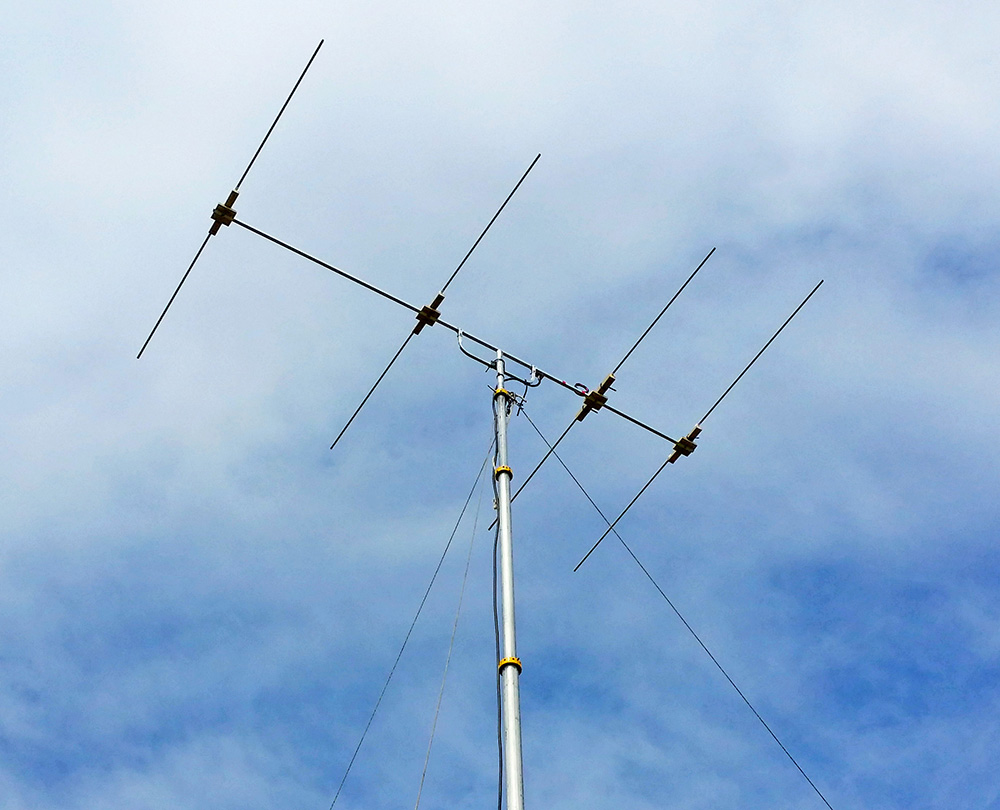
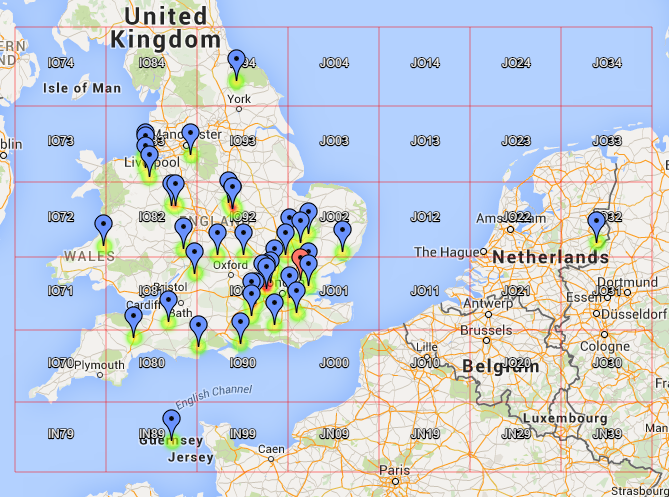
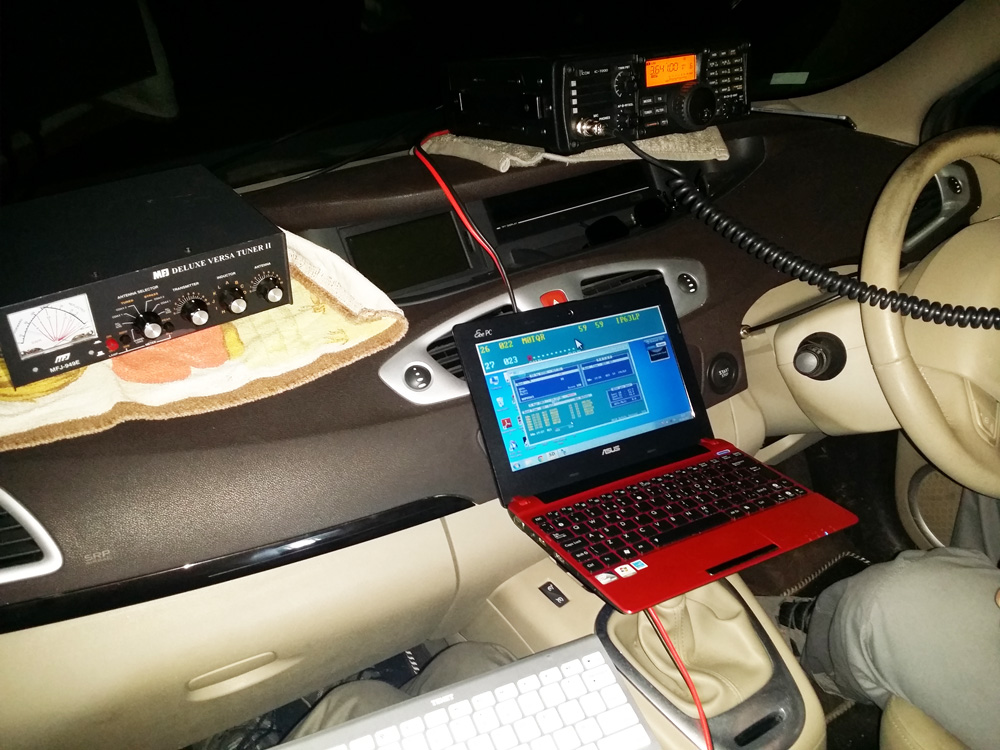
I set up a slim jim made from 450Ω feeder on a 10 metre fibreglass pole on a small local hill (away from the QRM) and used the Anytone AT588 with 50w on FM. There was some slow QSB, but we made the contact. He was 105 miles from me (see map). Not bad for no beams and FM!
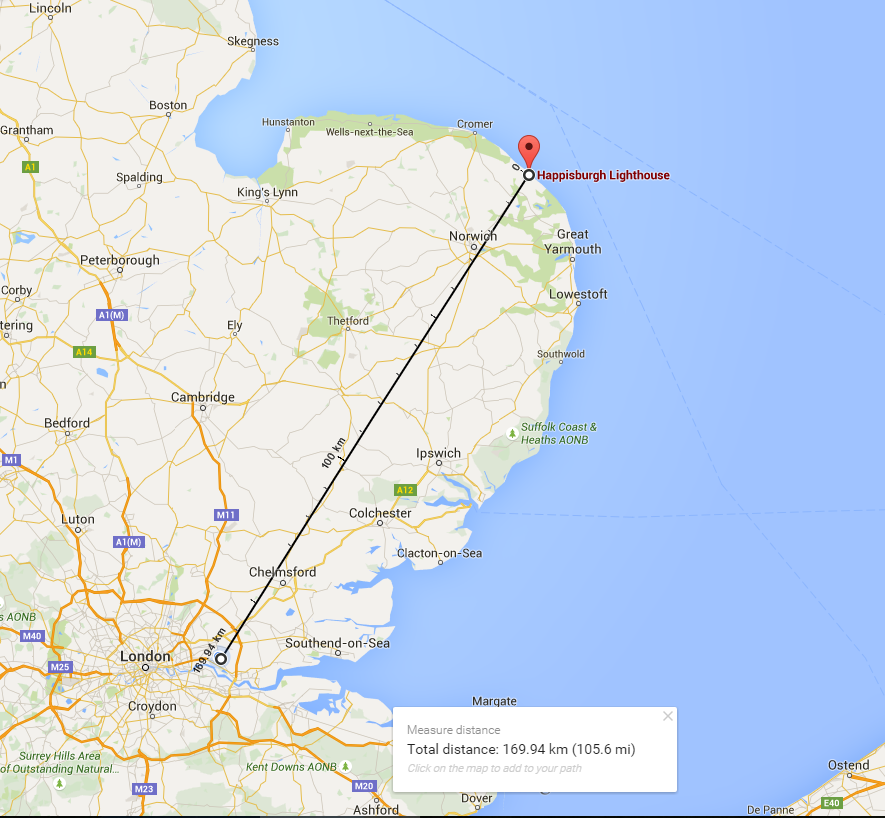
Happisburgh Lighthouse Distance Map
I took a tiny bit of video on my phone, which is below.